

Creating an event is easy with Gobo
Creating an event is easy with Gobo and generally takes just a few minutes if you already have copy and a show image. We’ll help you go through the steps and discuss the options for configuring your event.
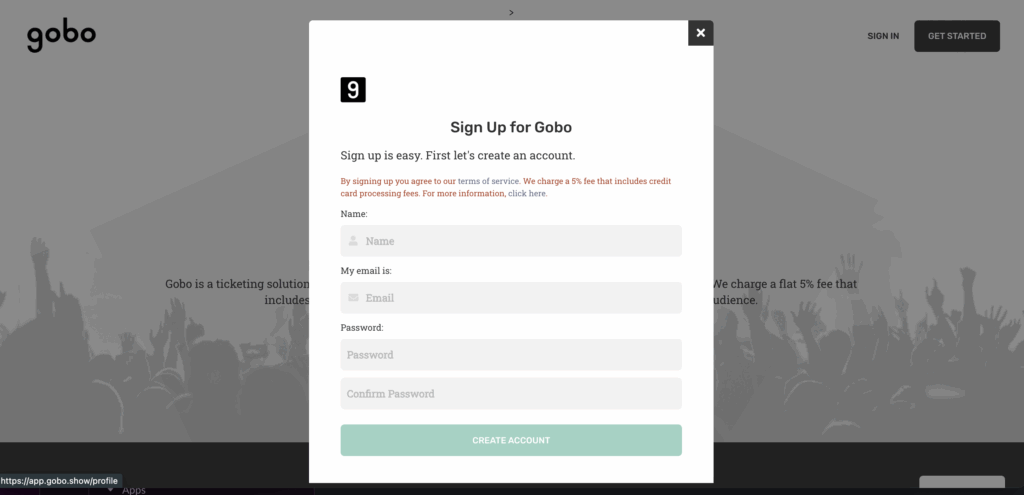
Step one: Create an account
Go to app.gobo.show and create an account. We’ll ask you a few quick questions to get started. Depending on whether you are an artist, venue, or event organizer we’ll set things up to optimize event creation for your use case. If you are more than one of those things, don’t worry, you can update your profiles whenever you want.
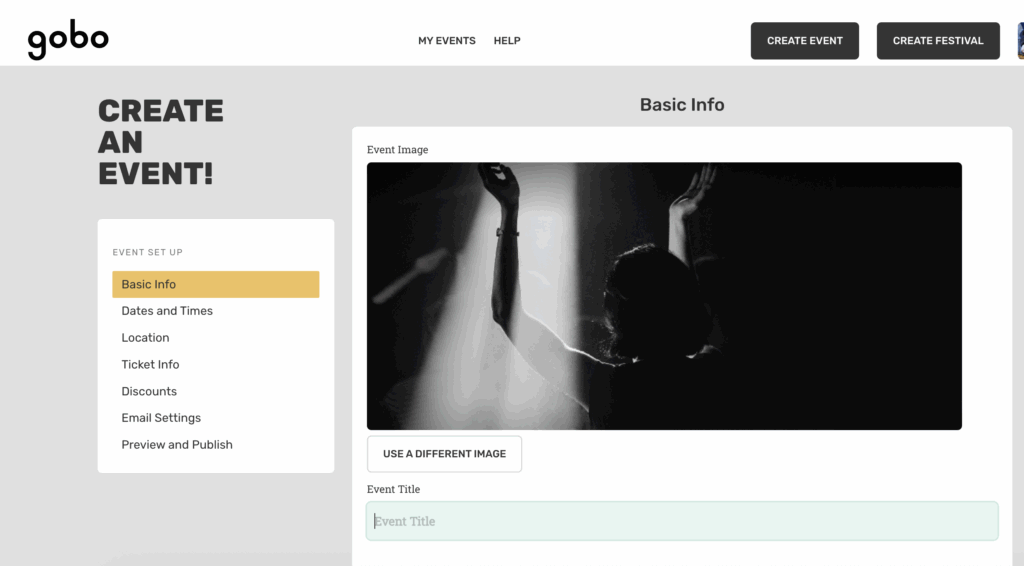
Step TWO: create your event and enter basic information
Hit ‘Create Event’ in the menu bar to create your first event. We offer a few event options, but most users want the ‘Single Event’ option, even if the event has multiple performances. We’ll be covering that workflow here, if you want more information on our event series or festival functionality check out those pages on our website.
The first step once you’ve started the event is to add an image, enter an event type, and enter a brief description for your event. We offer basic formatting options here, and you’ll have a chance to preview your event before you publish. If you’d like, you can always skip ahead to the preview at any point.
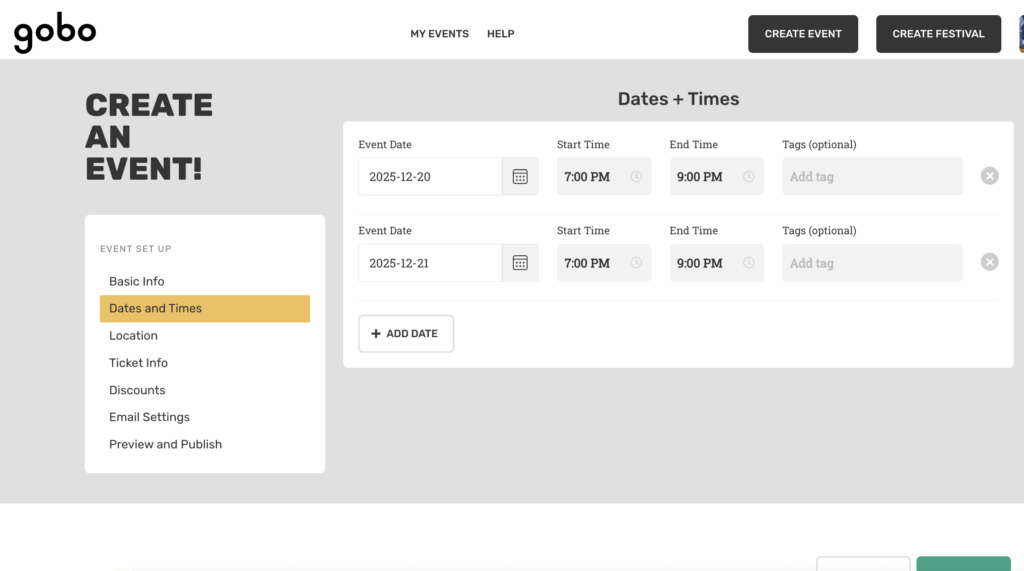
Step three: enter dates and times
Whether your show has one performance or many, we need to know when it or they are. Enter your dates and times for performances. If you have more than one performance date, don’t worry, we have plenty of options to customize based on performance date.
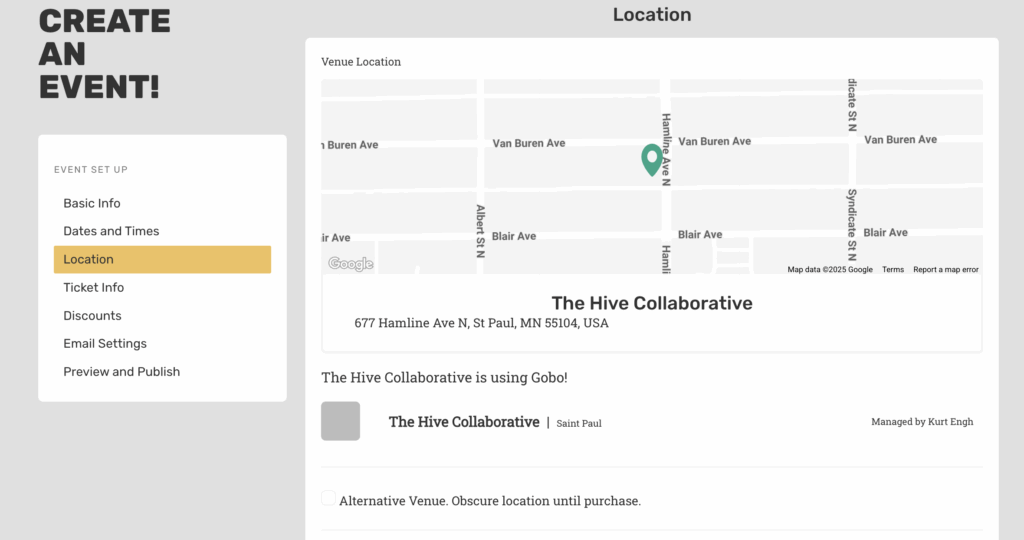
Step Four: Set your event location
If you are a venue manager, we’ll already have your venue set for you. Otherwise, start typeing in the location bar and select the correct address when it appears. If you’re using an alternative venue (such as for a house show or warehouse show), you can choose to hide the exact address until tickets are purchased.
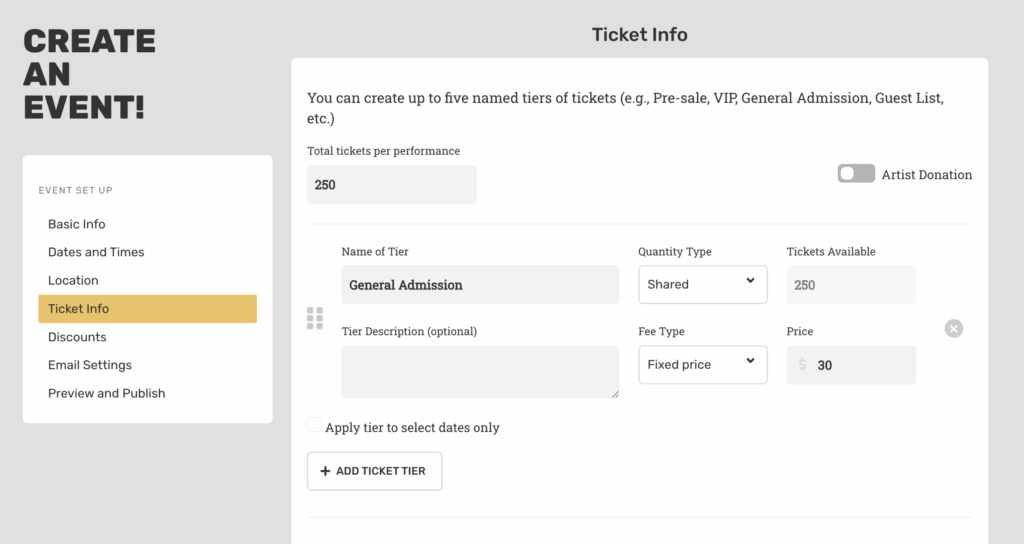
Step FIVE: Set up your pricing tiers
You can create up to five pricing tiers for your event and choose how many tickets are available to each. You can share inventory across tiers (for example, you might have a regular General Admission tier and a Student price) or reserve inventory for a tier type (for example, you might have a VIP Section). We offer fixed pricing, free pricing, and sliding scale tiers. You can also add discount codes, add on donations, and an on sale date if you would like.
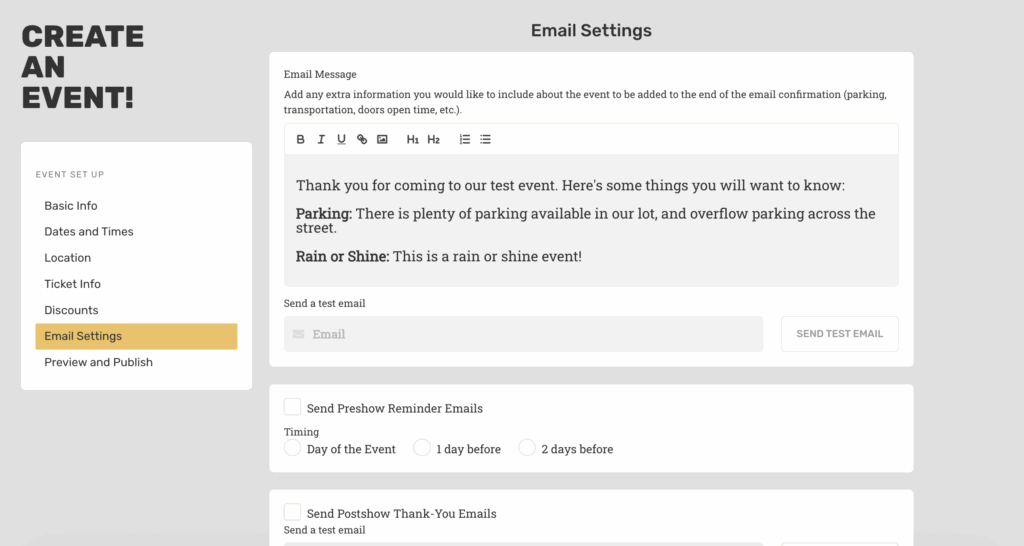
Step six: Set up your email automations
Every purchase generates a confirmation email with Gobo, and you can add your own custom message to the email if you would like. You can also configure know before you go and thank you emails that go out before and after the shows, respectively.
Step Seven: PREVIEW AND PUBLISH
Preview your event and then publish it when ready. If you haven’t already connected a Stripe account to our platform, and your event is a paid event, you will need to do that at this time so that we can send payments your way. You can choose to make the event public on the Gobo website or private so only the people you share it with can buy tickets. Now you are ready to start selling tickets!
